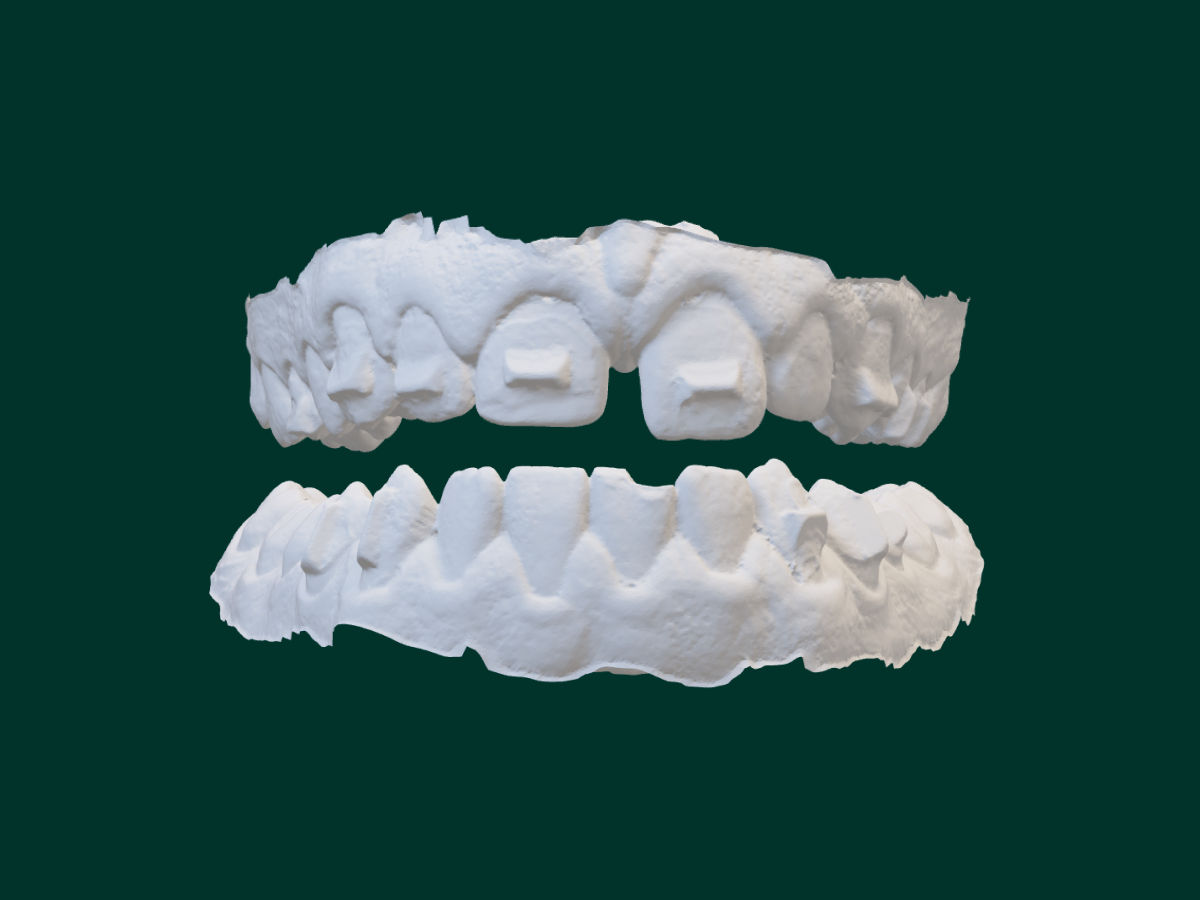
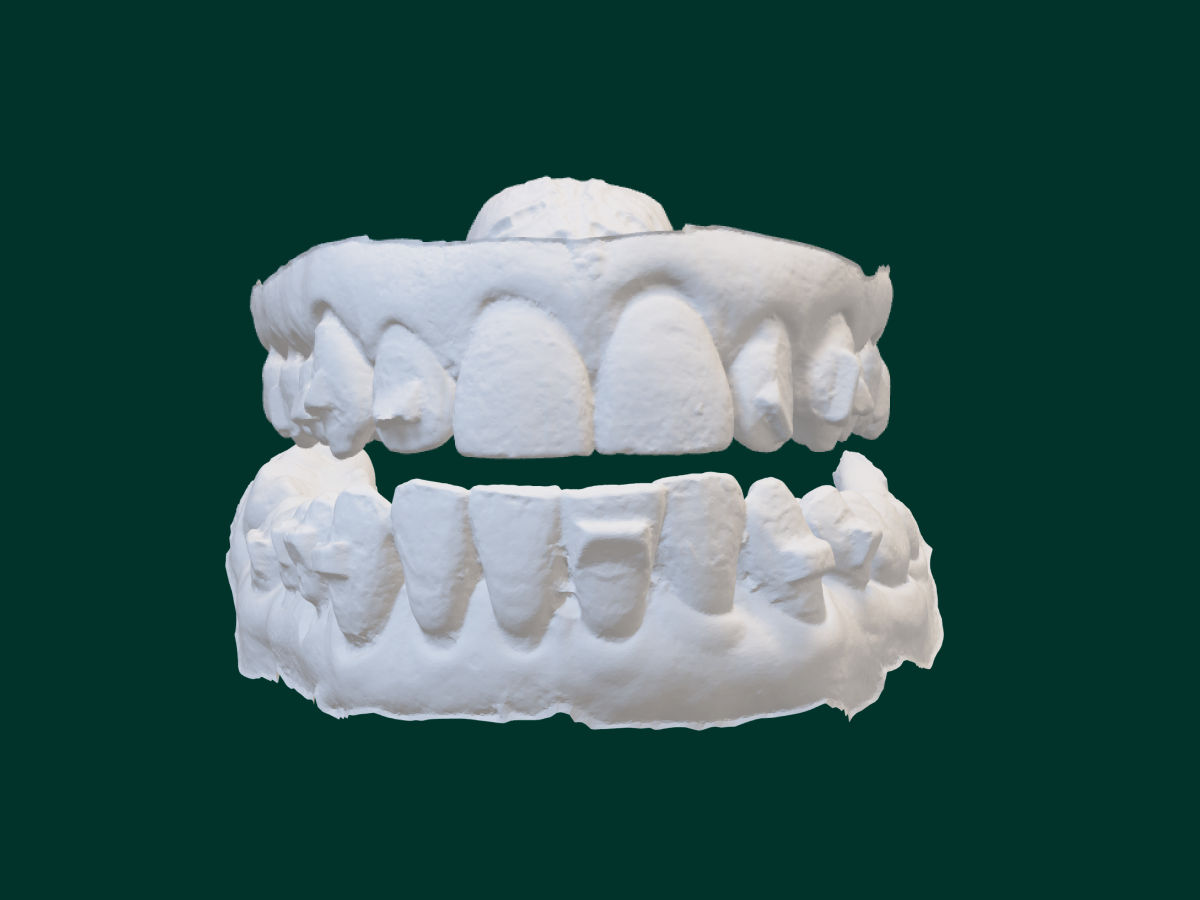
3M™ Clarity™ Precision Grip Attachments, 359-830, Dual Arch

Hover over image to zoom

3M™ Clarity™ Precision Grip Attachments, 359-830, Dual Arch

About the product

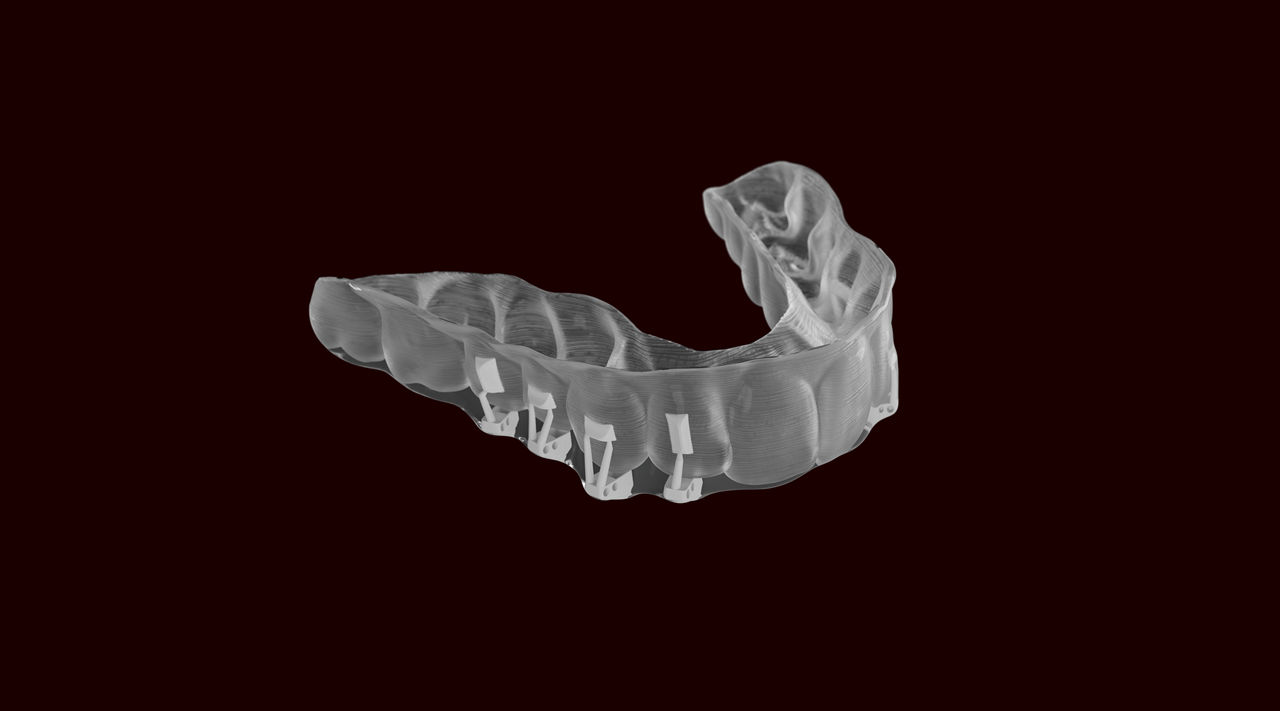
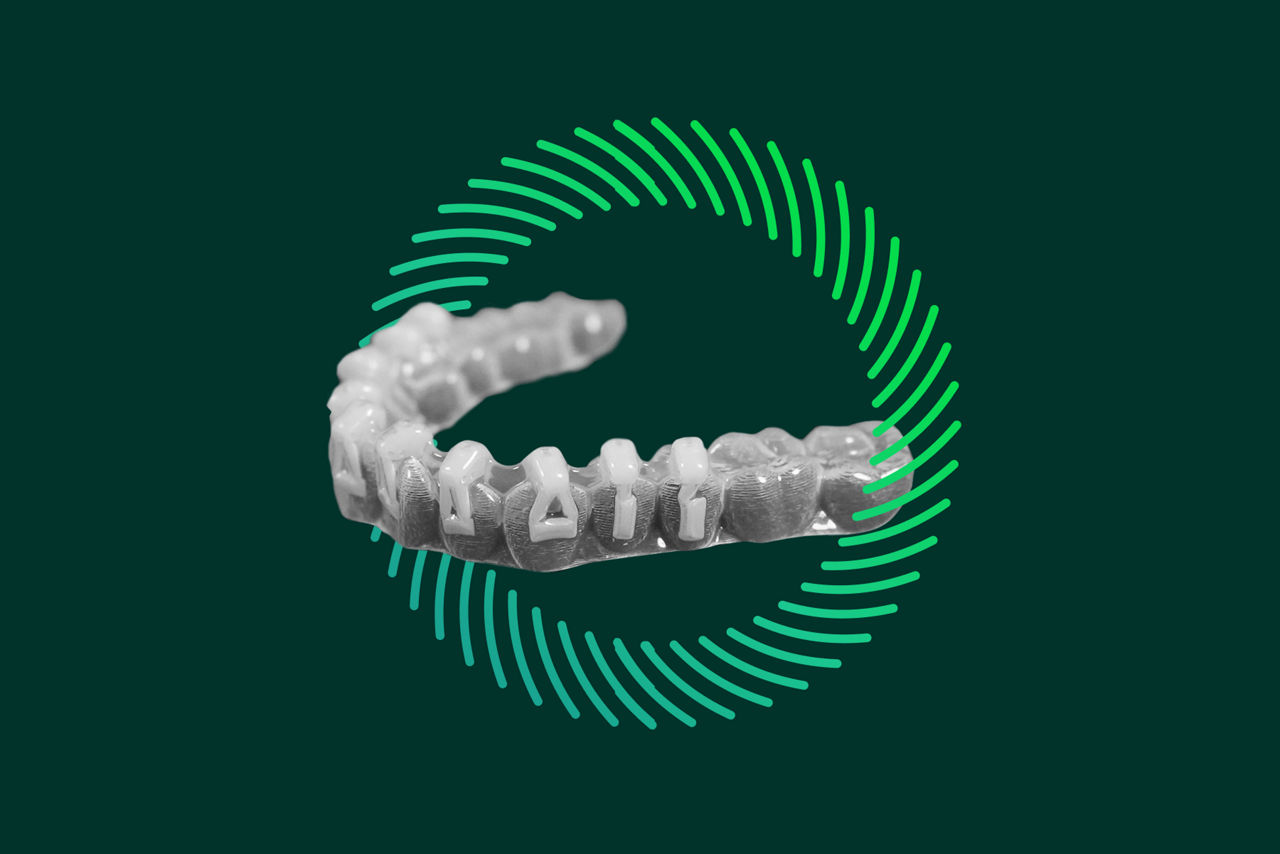
Offering 3D-printed precision and time savings, 3M™ Clarity™ Precision Grip Attachments are a first-of-their-kind, fully cured composite attachment system that enables flash-less bonding and durable performance. Made exclusively for 3M™ Clarity™ Aligners, you can transform your patients’ smiles with a lot less hassle while improving predictability and consistency.

  • Industries : Orthodontics
  • Brand : Clarity™

Product Details

Powerfully precise

Powerfully precise
Customized for each patient, 3M™ Clarity™ Precision Grip Attachments provide impressively precise results. The pre-filled trays of 3D-printed attachments cut down on manual effort and eliminate technique sensitive processes. You can also minimize chair time, thanks to the flash-less bonding. Between the time you save by not having to fill up the templates or remove composite flash, you can expect to save 12 minutes per bonding procedure, on average. Built for durability, our robust 3D-printed attachments provide consistent, precise aligner engagement while maintaining shape integrity. Your patients can also count on the attachment’s stain resistance to maintain the clean esthetics of their aligners and smile with confidence.
3D-Printed precision

3D-Printed precision

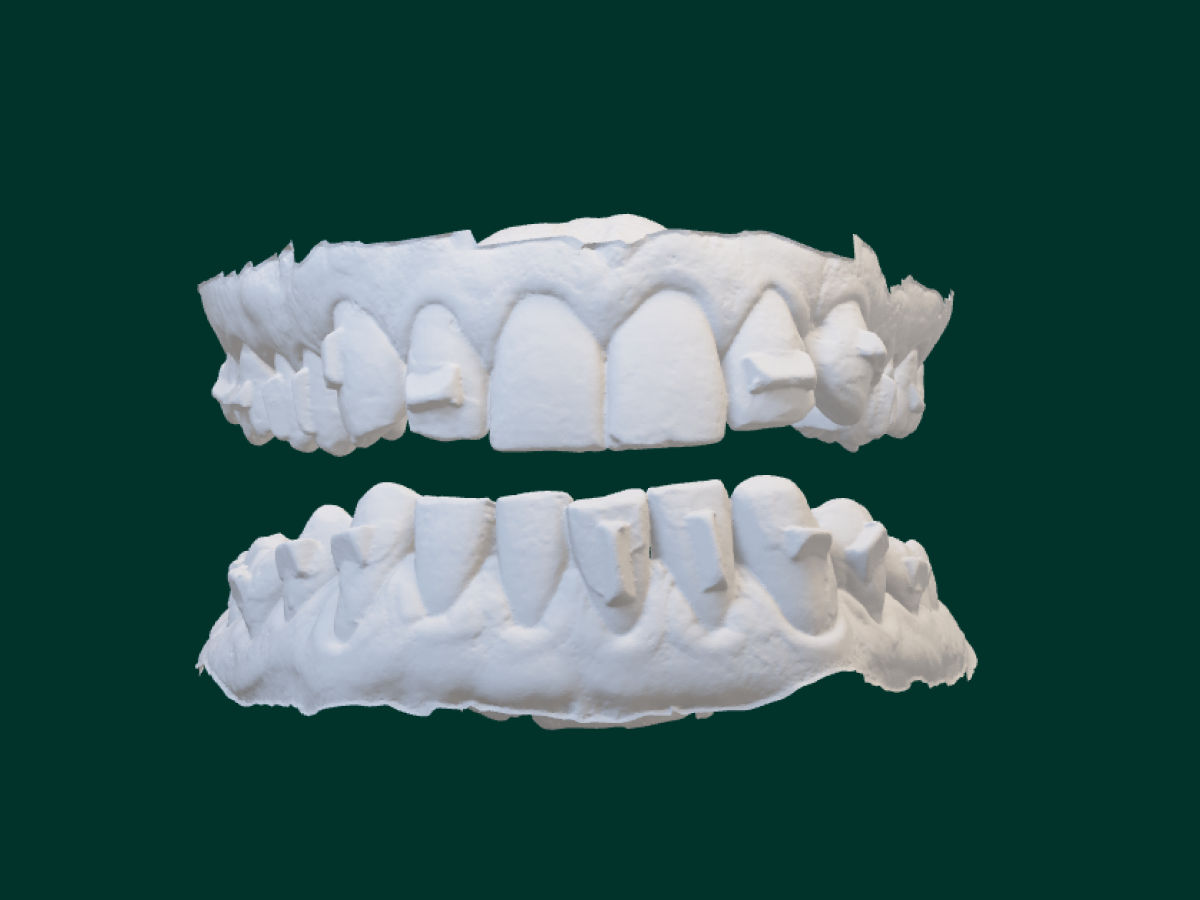
Attachments are custom-made for each patient using Oral Care Portal, helping to ensure a precise fit and optimized results.

Saves time for you and your patients

Saves time for you and your patients

The pre-loaded, 3D printed attachments simplify the process. You can count on shorter appointment times thanks to virtually no flash cleanup.

Brilliant esthetics

Brilliant esthetics

Superior stain resistance keeps your patients' smiles looking great during treatment.

Durability

Durability

Our unique 3D printed attachments are abrasion-resistant and feature a high fracture strength.

Step-by-step bonding protocol for 3M™ Clarity™ Precision Grip Attachments. For assistance, contact 3M Clinician Support at 1-800-423-4588
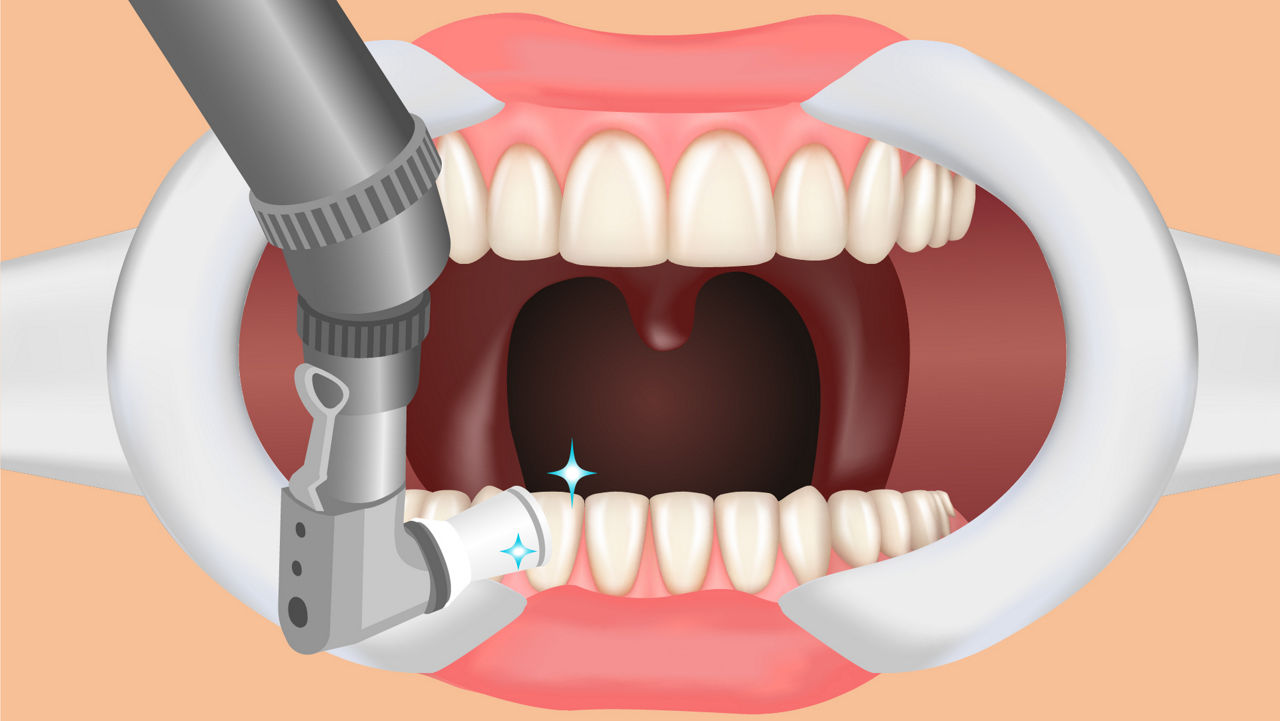
1A) Prophy OR

1A) Prophy OR

Prophy teeth with an oil-free pumice or paste. Rinse and dry thoroughly. Only prophy (Option A) or etch (Option B).

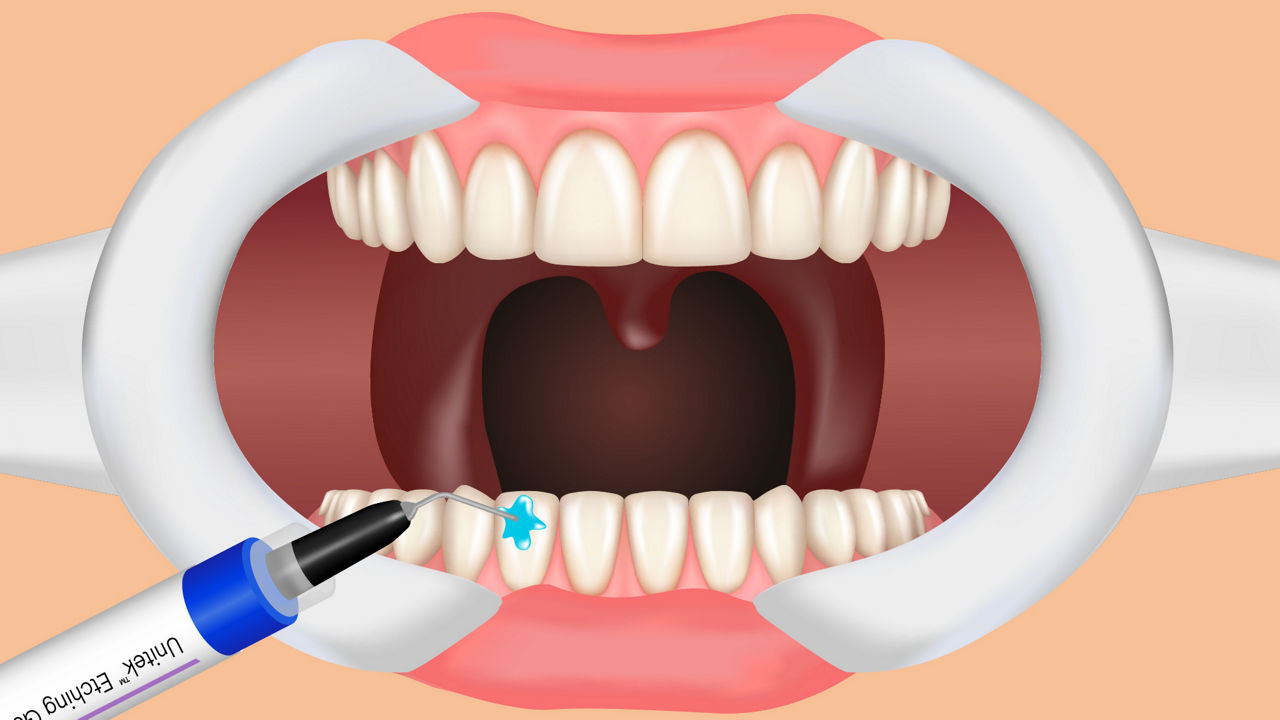
1B) Etch

1B) Etch

Etch teeth with 3M™ Unitek™ Etching Gel System or another etching agent with phosphoric acid. Only prophy (Option A) or etch (Option B).

2) Prepare Attachment Surface

2) Prepare Attachment Surface

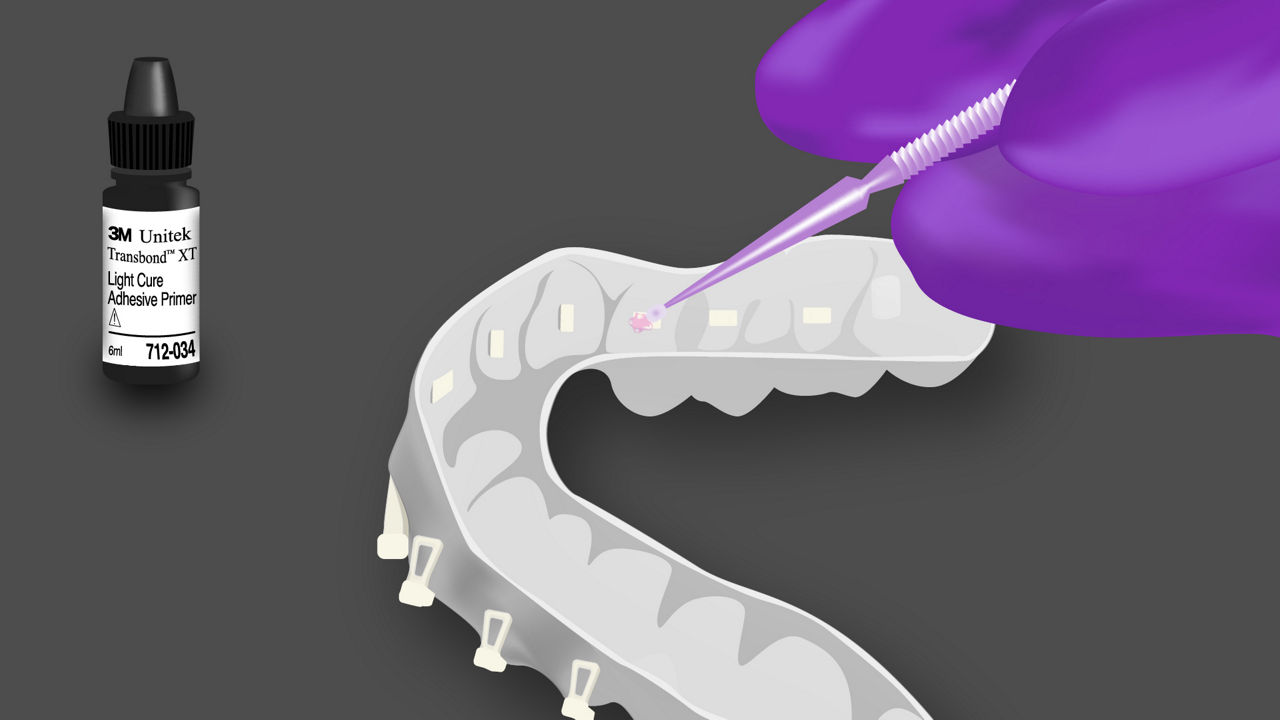
1. 3M™ Transbond™ XT Light Cure Adhesive Primer is the required bonding agent for the attachment surface.

2. Using a super-fine microbrush, apply ample material to the back of the attachment in the tray first.

3. Avoid allowing material to run onto surrounding surface.

4. Re-dip applicator in reservoir to saturate tip before applying the material on the next attachment.

3) Prepare Tooth Surface

3) Prepare Tooth Surface

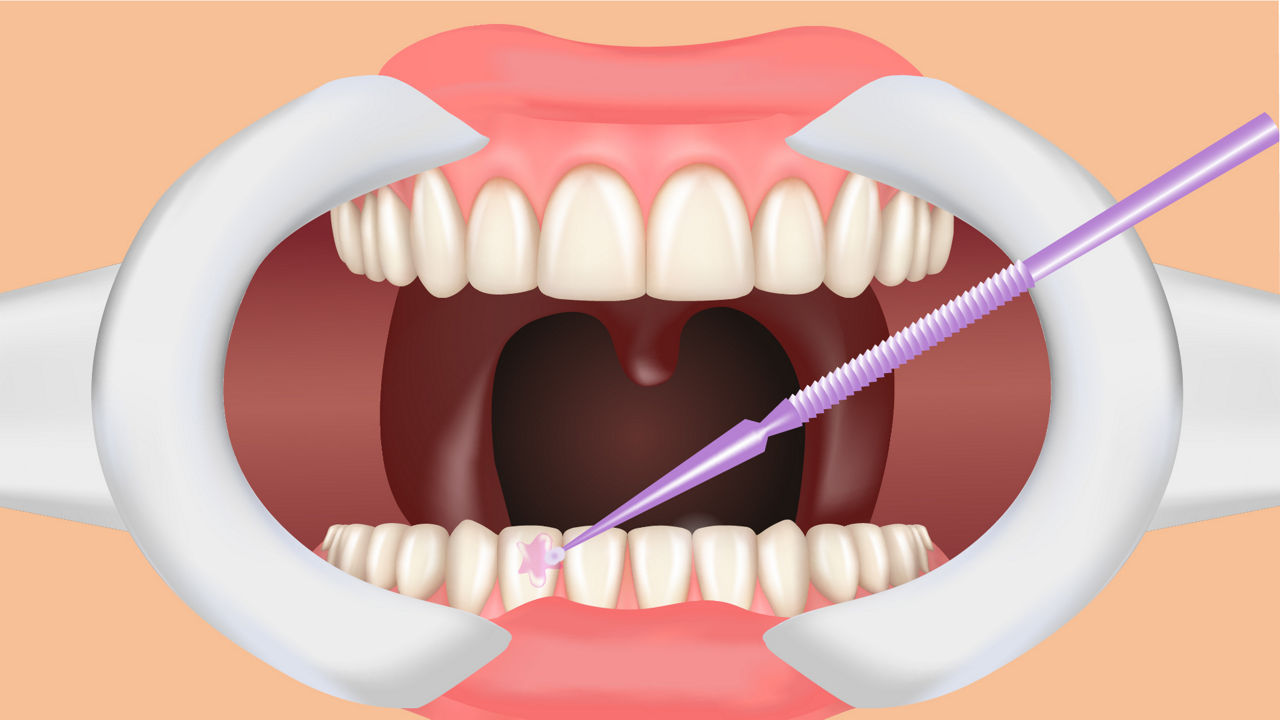
1. 3M™ Transbond™ Self-Etching Primer is the required bonding agent for the tooth surface.

2. Rub the saturated tip of the applicator onto tooth surface. Continue rubbing material onto enamel while applying some pressure for a minimum of 3-5 seconds per tooth.

3. Re-dip applicator in reservoir to saturate tip before applying the material on the next tooth. Use one L-Pop per arch.

4. Deliver a gentle air burst for 1-2 seconds.

4) Place

4) Place

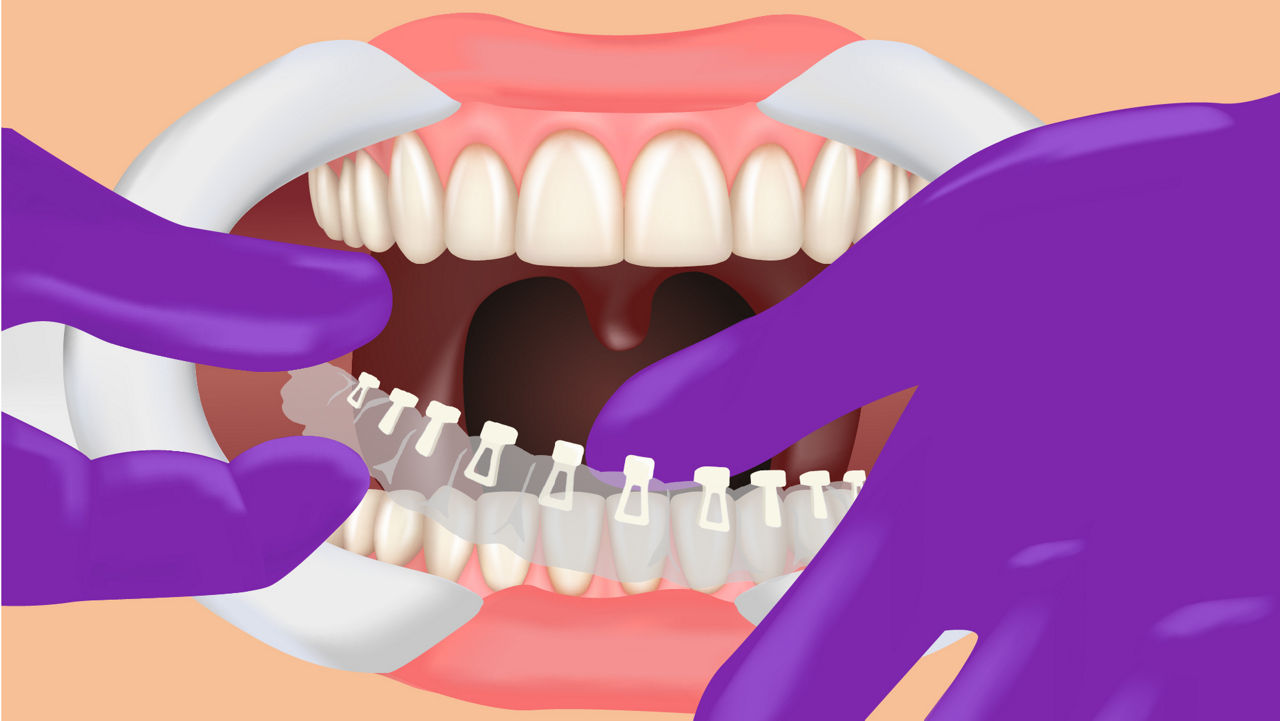
1. Do NOT cure the material prior to seating the tray.

2. Do NOT allow material to air dry in tray.

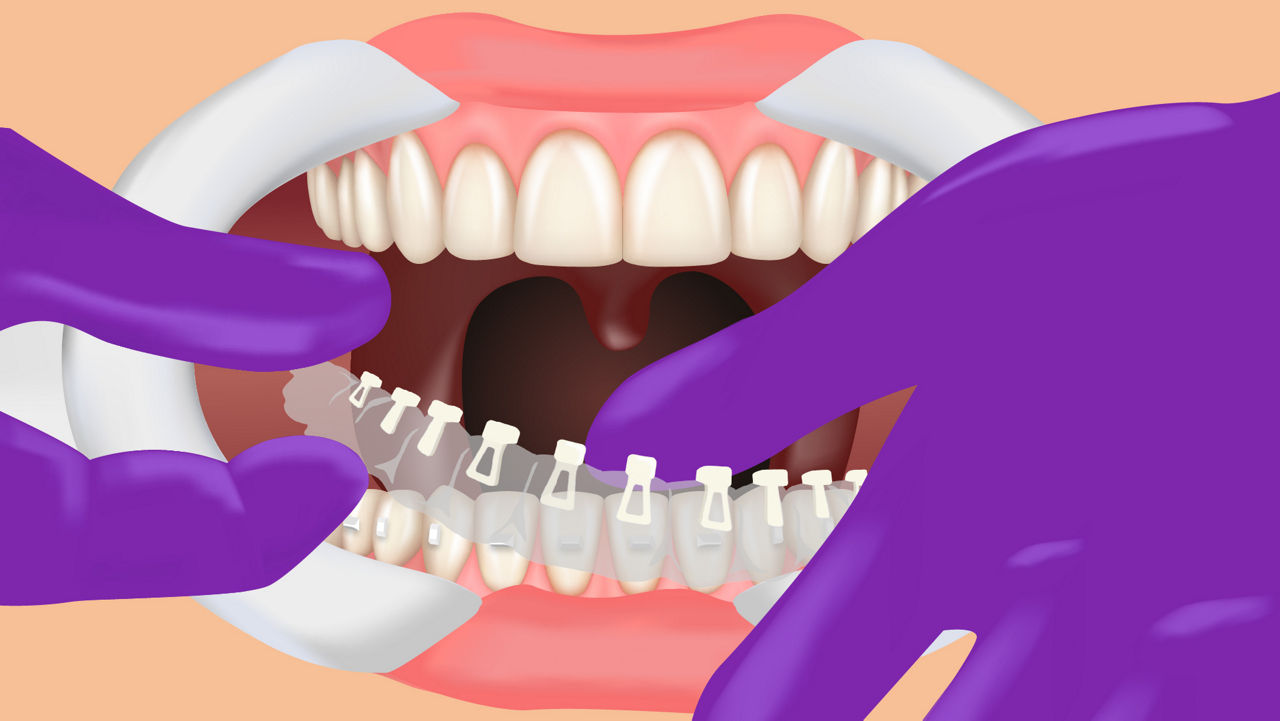
3. Position tray in the patient’s mouth.

5) Light Cure

5) Light Cure

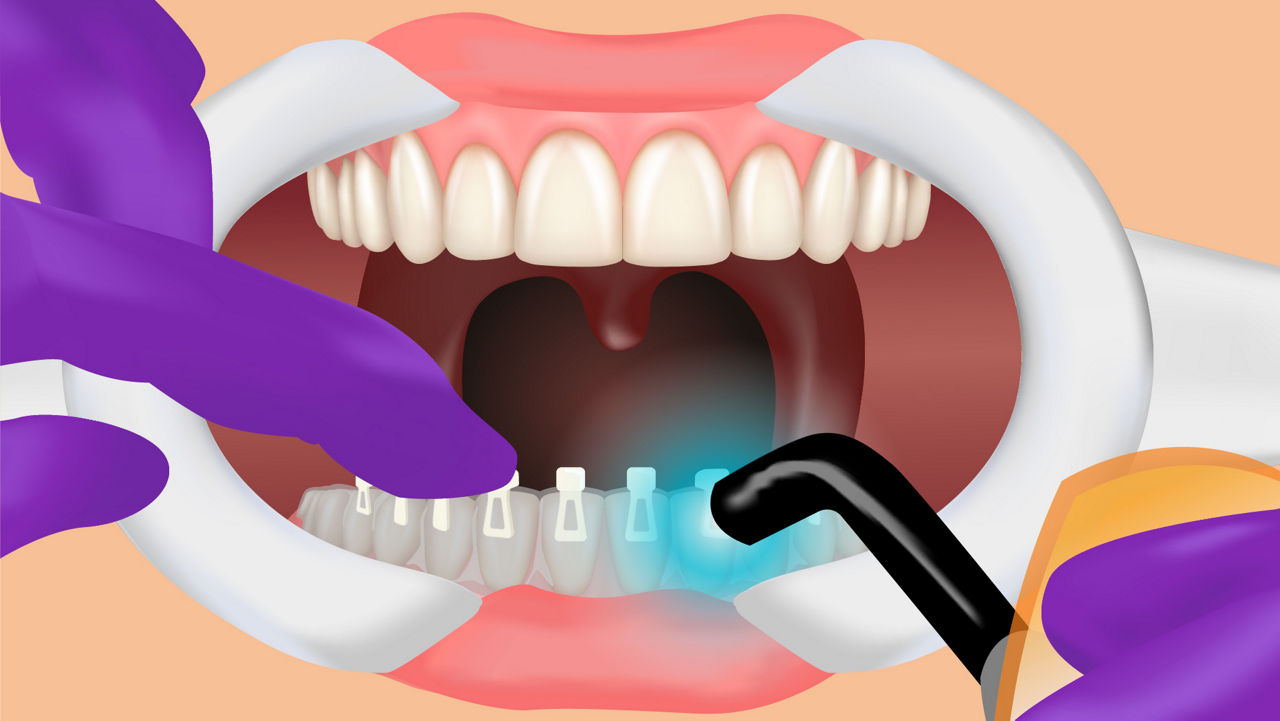
1. Fingers should apply a positive pressure on the occlusal areas of the tray.

2. Apply gentle pressure directly to the tray with curing light tip before starting light cure.

3. Light cure each attachment for 6 seconds using the 3M™ Ortholux™ Luminous Curing Light or 10 seconds using the 3M™ Elipar™ Curing Light.

Note: If using a curing light from another manufacturer, reference and follow that manufacturer’s instructions for use related to the proper curing light techniques

6) Remove

6) Remove

1. Remove tray by lifting from the lingual surface, over to the buccal surface to enable release of attachments from support structures.

2. If an attachment remains in the tray, it can be bonded a second time.

7) Check

7) Check

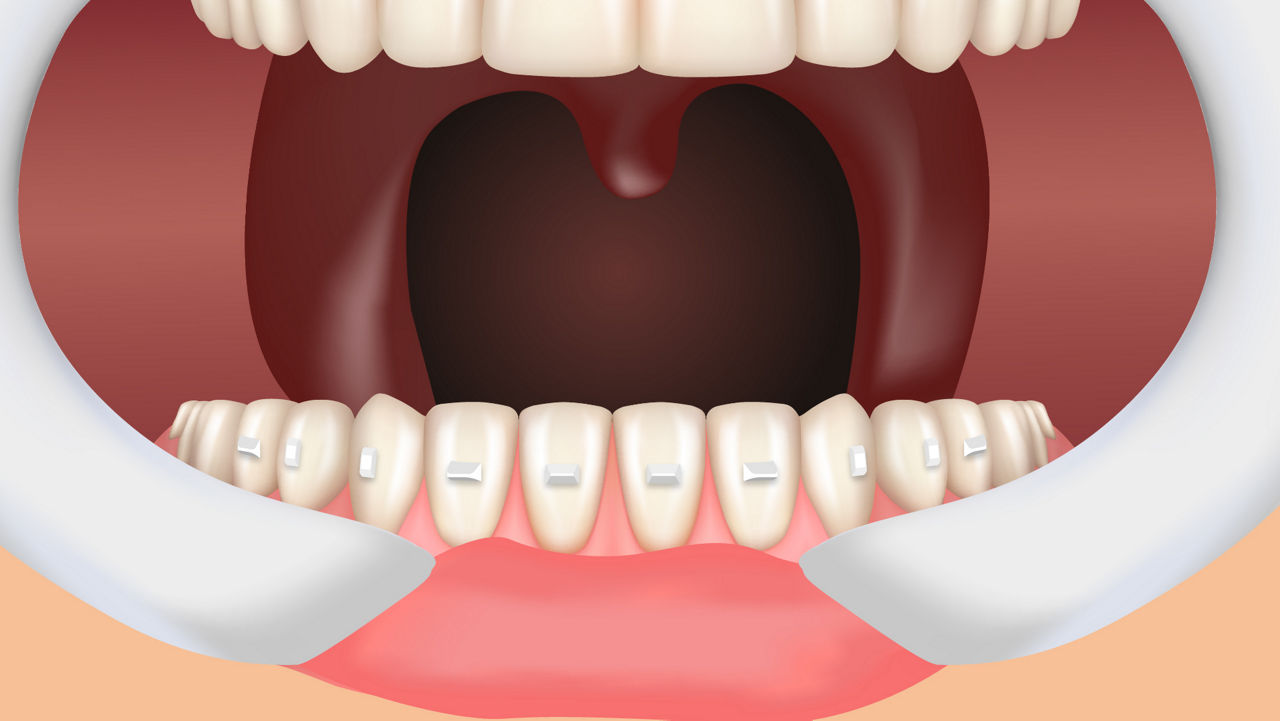
1. Confirm the secure bond of each of the attachments.

2. Remove any excess material using a scaler, polishing disk or bur.

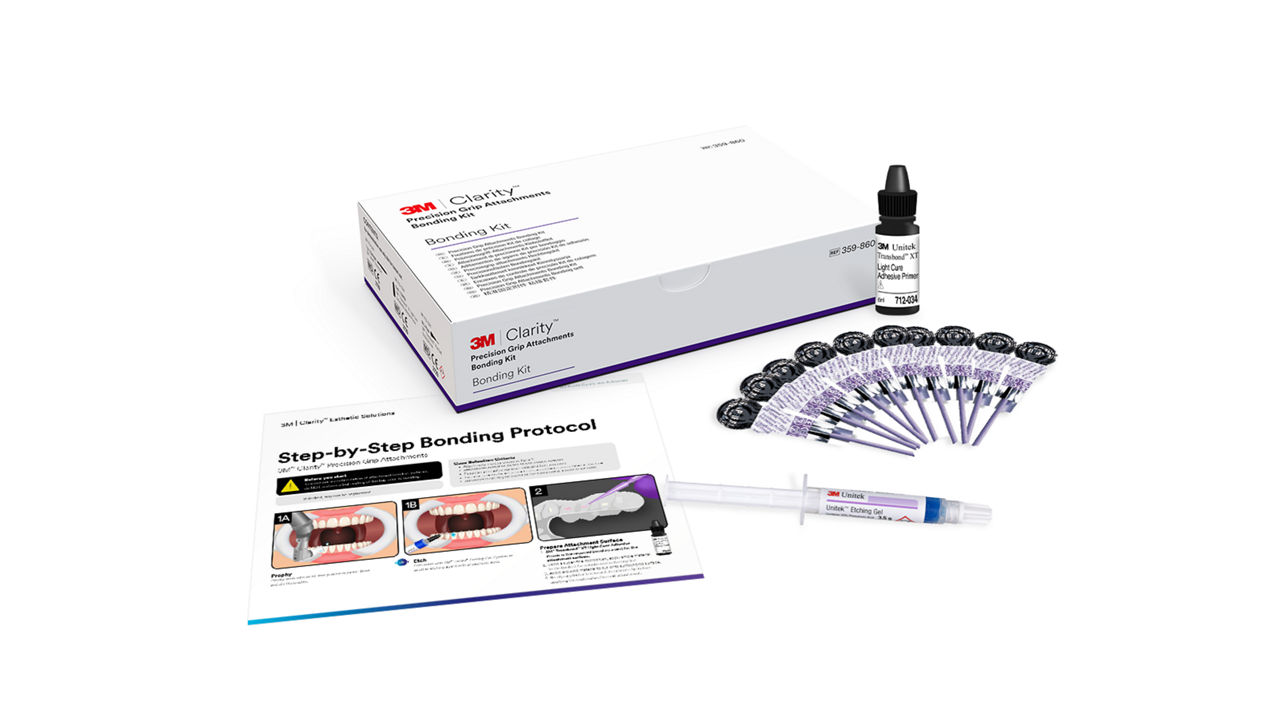
Bonding Kit includes 3M™ Transbond™ XT Primer, 3M™ Unitek™ Etching Gel and 3M™ Transbond™ Plus Self Etching Primer

Bonding Kit includes 3M™ Transbond™ XT Primer, 3M™ Unitek™ Etching Gel and 3M™ Transbond™ Plus Self Etching Primer

View Post-Bonding results with Clarity Precision Grip Attachments

View Post-Bonding results with Clarity Precision Grip Attachments

Courtesy of Dr. Doug Palaganas, Consultant for Solventum

New York, NY – US.

View Post-Bonding results with Clarity Precision Grip Attachments

View Post-Bonding results with Clarity Precision Grip Attachments

Courtesy of Dr. Matt Dunn, Consultant for Solventum

Arizona – US.

View Post-Bonding results with Clarity Precision Grip Attachments

View Post-Bonding results with Clarity Precision Grip Attachments

Courtesy of Dr. Doug Palaganas, Consultant for Solventum

New York, NY – US.

  • Our unique 3D-printed attachment system is the first of its kind for clear aligners — available exclusively for use with 3M™ Clarity™ Aligners.
  • Flash-less bonding reduces steps and chair time — on average, our 3D-printed attachment system saves 12 minutes per bonding procedure.
  • Excellent stain resistance maintains esthetics for your patients, keeping their smiles clean and clear during treatment.
  • Each set of attachments is custom designed for each patient using Oral Care Portal, providing more precise results.
  • Impressive durability and high fracture strength helps the attachments maintain shape integrity.

Product Specifications

Industries
Industries

Orthodontics

Brand
Brand

Clarity™